Ever wondered why homeowners switch wooden stair balusters for wrought iron? It’s because the change looks amazing and saves money. Moving from wood to wrought iron can make your stair look up-to-date and strong. This not only impresses but lasts long too.
Do-it-yourself with iron balusters saves you cash and adds a personal touch. Professionals may charge up to $800, but doing it yourself costs about $1501. With basic metalworking tools, you can manage. Picture cutting the balusters to fit, using hot glue for an easier install, and adding decorations all in a day.
Key Takeaways
- Wrought iron baluster installation can be a DIY project that saves you significant money.
- The installation cost ranges from $150 for DIY to up to $800 for professional installation1.
- Basic metalworking tools are sufficient to complete the installation in one day.
- Personalize your staircase with decorative baluster designs, knuckles, and shoes.
- Using hot glue offers a simpler alternative to traditional epoxy1.
The Benefits of Wrought Iron Balusters
In recent years, about 1/4 to 1/3 of stairs have moved to iron balusters mixed with wood2. People prefer iron for its strength and little upkeep needed. Its low carbon content fights off rust, so once installed, metal balusters last a long time3.
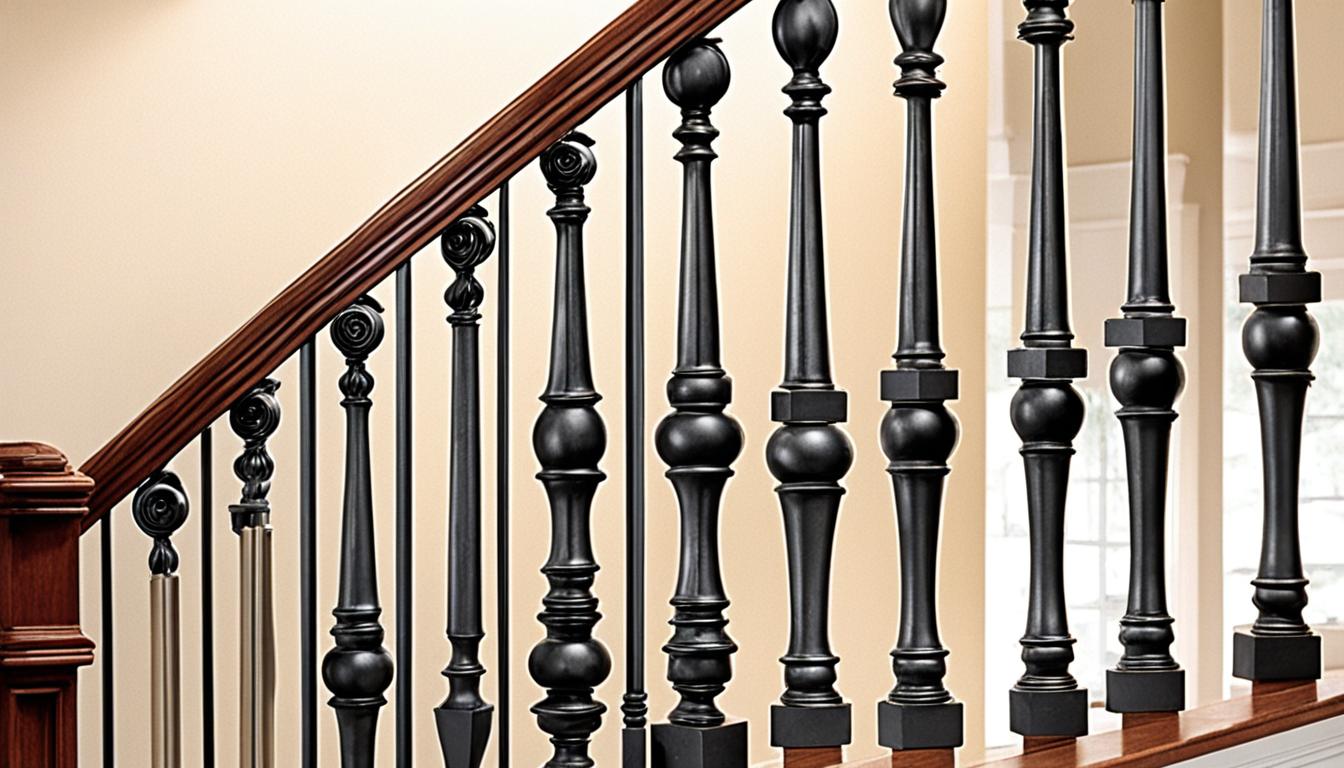
These balusters also make homes more beautiful. StairSupplies™ offers many detailed designs, adding value to any place4. With 16 series, from fancy to straightforward, they fit different home styles3.
Iron balusters are also wallet-friendly. They don’t need much upkeep, cutting down on costs over time3. Techniques like using glue make putting them in easy2.
Not to mention, they keep homes safer, good for both kids and pets3. Iron’s weight and strength need a solid support, making staircases safer2.
Choosing iron helps the environment too. It lasts longer, meaning fewer replacements. This is good for the earth and means less hassle for homeowners3. Plus, there are many color choices, making stairs both pretty and durable4.
Steps to Prepare Your Work Area for Baluster Installation
Getting your work area ready is key before starting on stair renovation. This guide will cover the steps needed for a successful project.
First off, use drop cloths to cover your furniture and floor. This step keeps your stuff safe and helps with cleanup. It makes the whole installation process easier and tidier.
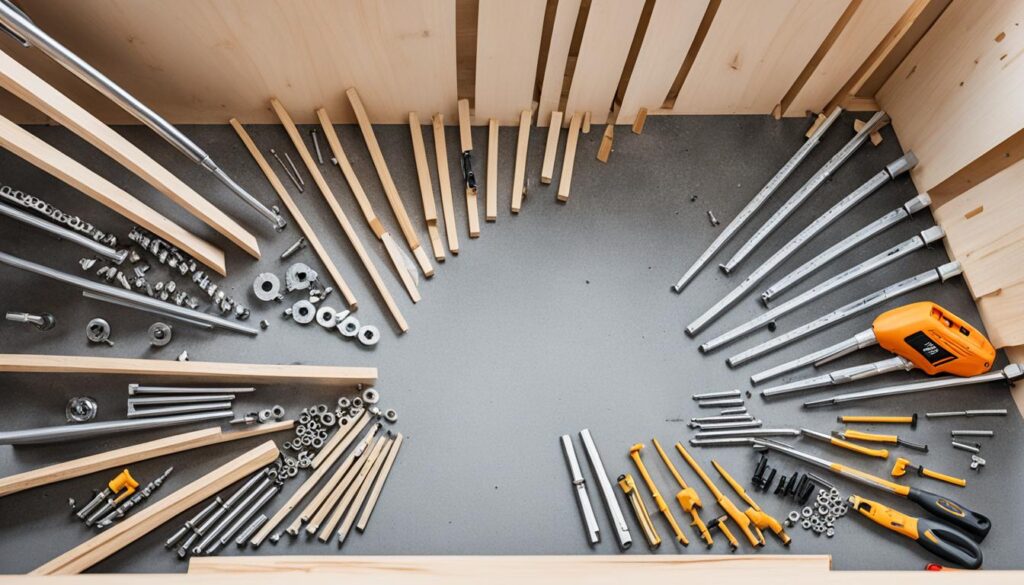
Make sure you have all your tools ready before you start. You’ll need things like saws, pliers, a drill, and a tape measure. Having the right tools on hand makes everything smoother.
Don’t forget essential items like balusters and base shoes, plus an epoxy gun. Check the local building codes for safety5. This can prevent problems later and keep your renovation on schedule.
Finally, clear the area and let in fresh air. This is especially important for outdoor projects. An open space makes your work easier and safer.
By following these steps closely, you’ll be well-prepared for baluster installation. It not only makes your stairs look better but also makes the job easier. Good preparation is the secret to a job well done.
Materials and Tools Needed for Wrought Iron Baluster Installation
Gathering materials and tools is key before starting an iron stair railing project. This ensures the work goes smoothly.
Materials
- Wrought iron balusters (includes various styles like plain, single knuckle, and more)6
- Baluster shoes for support6
- Use construction adhesive to secure the balusters6
- Include newel posts and handrails for structural strength7
Tools
- Power saws with metal cutting blades for precise cuts7
- Drills and pliers are essential for installation8
- Measuring devices ensure accurate baluster heights6
- Wrenches for tightening and securing parts
- Don’t forget safety gear like gloves and goggles8
Prepare the materials and tools carefully for a strong, beautiful iron stair railing. This makes the installation process easier.
Designing Your Wrought Iron Baluster Layout
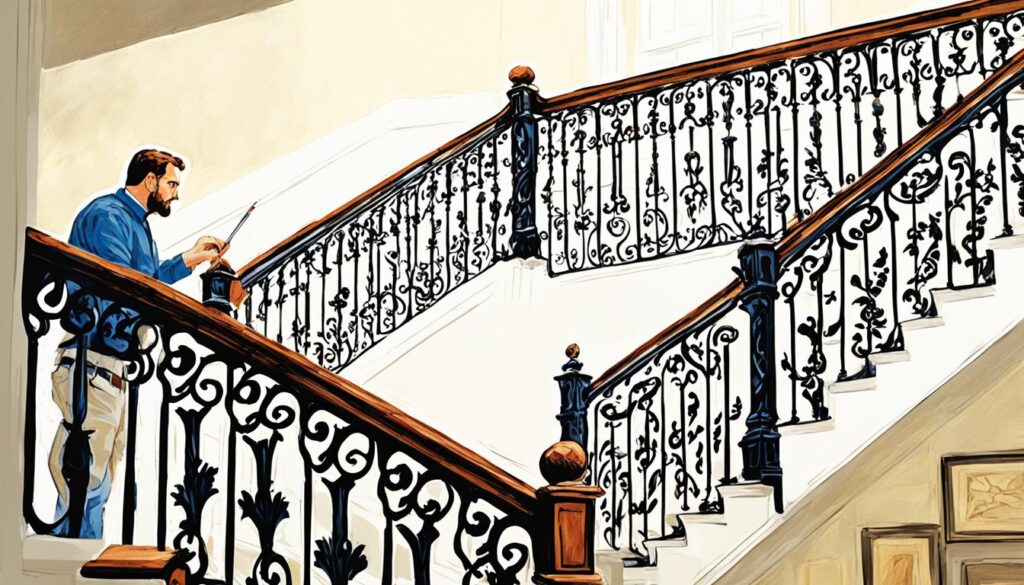
Making a stunning baluster layout can make your staircase unique. For safety, the 2018 International Residential Code (IRC) says a sphere four inches wide should not fit through any part9. To figure out how many balusters you need, multiply the required balusters per step by the total steps9. Need to do the math?
Think about mixing different styles for your staircase balusters. You can combine swirls with straight bars and knuckles. This adds depth to your design, making plain balusters look fancy without a big cost10. Aim for three balusters for every foot for both safety and a good look9.
Struggling to imagine it? Use tools like the Iron Baluster Design Tool to plan your layout9. Also, adjustable knuckles make it easy to create different designs, improving your balusters’ appearance10.
Balusters not only need to be beautiful but also strong. According to the 2018 IRC, they must hold up 50 lbs of pressure over a 1-square-foot area9. For a lot of choices, LJ Smith offers seven finishes for their balusters. You’re sure to find one that fits your style11. Here are some finish options:
| Finish | Style | Cost |
|---|---|---|
| Low Sheen Black | Modern | $2 each |
| Matte Nickel | Contemporary | $2 each |
| Silver Vein | Elegant | $2 each |
| Antique Bronze | Vintage | $3 each |
| Oil Rubbed Bronze | Rustic | $3 each |
| Oil Rubbed Copper | Ornate | $3 each |
Consider LJ Smith’s pre-drilled LJ-line balusters for easy installation. They work with the PIN-EZ or dowel-fast screw, simplifying the setup11. Whether you do it all yourself or get some help, your staircase is on its way to being a real standout with the right wrought iron balusters.
Purchasing the Right Balusters and Accessories
Finding the right balusters and metal stair parts is key for your stair project. When you buy wrought iron balusters, think about using three per step. This makes your stairs more stable12.
There’s a lot of styles to choose from. You can pick twisted or hammered designs, perfect for any look, whether it’s traditional or modern13. All iron balusters are up to safety standards, so you know they’re safe and legal to use13.
It’s important to finish well. Adding Iron Baluster Foot Covers gives a sleek finish at the base and where they meet the handrail12. You can also find a wide range of products like newel posts and railings for a complete look13.
Looking at different styles before you buy is smart. You can mix and match from the Twist Series, or go with the same designed set. This is a common way to pick balusters12. If you like doing things yourself, installing these balusters doesn’t take long. Many finish in a weekend13.
- Local stores have iron balusters that are safe for the environment, since they’re free from lead and mercury13.
- Find a supplier that gives out samples of popular baluster finishes. StairSupplies™ does this to help customers choose smartly12.
- There are deals for buying in bulk. This helps save money, especially for big projects or if you need a lot of parts12.
How to Install Wrought Iron Balusters
Installing metal balusters is a great DIY task. It gives your staircase a timeless, classic appearance. First, you’ll remove the old wooden balusters. Then, you’ll learn how to fit the new iron balusters.
Removing Old Wooden Balusters
Start by getting rid of the old wooden balusters. This could take you up to 2 days. You’ll need to cut, twist, and pull them from the railings14. Don’t forget to cover your floor with a drop cloth. The tools you’ll need are a reciprocating saw or jigsaw, pliers, and a drill with various bits14. Be gentle to avoid harming your railings while doing this.
Measuring and Cutting Iron Balusters
With the old balusters gone, it’s time to size up and cut the new iron ones. Use a portable band saw or chop saw with a metal-cutting blade for accuracy14. Cut the metal balusters 1-3/8″ to 1-1/2″ longer than the measured space between your handrail and the floor or tread15. The size of the holes you’ll need to make varies with the type of baluster. For example, you’d use a 3/4″ hole for a 1/2″ square baluster15.
Installing Iron Balusters
The final step is setting the new balusters in place. Make sure to check pattern and length before securing. Always use balusters shoe plates. They make everything more stable and look better14. For fixing the balusters, Stairwarehouse epoxy is a good choice15. Remember to follow the curing instructions for the epoxy you use14.
Troubleshooting Common Installation Issues
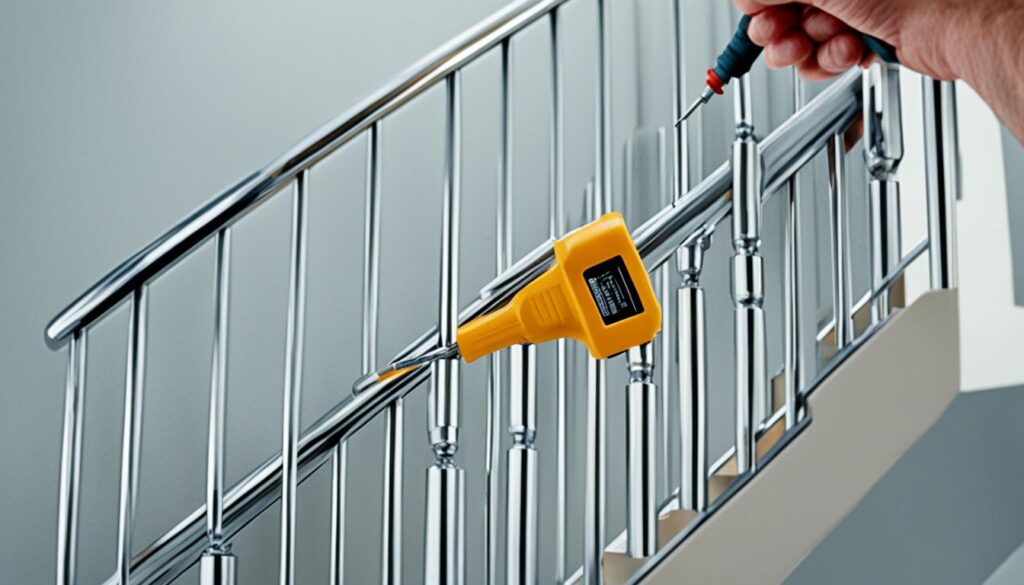
Installing wrought iron balusters can be both rewarding and tricky. It’s key to know how to solve common problems for a pro finish. Incorrect cuts often happen due to bad measurements and the wrong tools. Always check your measurements twice and use the right saw for clean cuts. For a project with 65 balusters, a compound miter saw helped maintain consistent sizing. This highlights its importance in any baluster installation16.
Issues with glue, especially epoxy, are quite common. It’s important to know how epoxy works in different climates. User advice can be helpful in choosing the right glue. An expert with over 8,000 posts underlined how discussions can offer great tips17. Wood glues, such as DAP Weldwood Original Wood Glue, can work well too. It was successful in attaching wood balusters. This shows that traditional glues can also be important in the process16.
Bad alignment can make your staircase look bad. To prevent this, use mounting connectors and specific balusters. These products help by removing the need for perfect alignment18. For example, the easy mount brackets from Fortress Building Products make the project look better18. They guarantee a correct, snug fit. An example with specific baluster dimensions stresses the need for the right accessories16.
Corrosion can be a problem, especially with metal and certain woods. Nylon brackets can solve this, making the installation last longer18. Sometimes, simple materials like oak strips can fix small fitting problems. This is useful when troubleshooting iron baluster installation17.
Every step in a baluster installation guide needs careful planning and focus. Facing these common issues directly improves the process. This ensures both strength and beauty in the final result.
Maintaining Your Wrought Iron Balusters
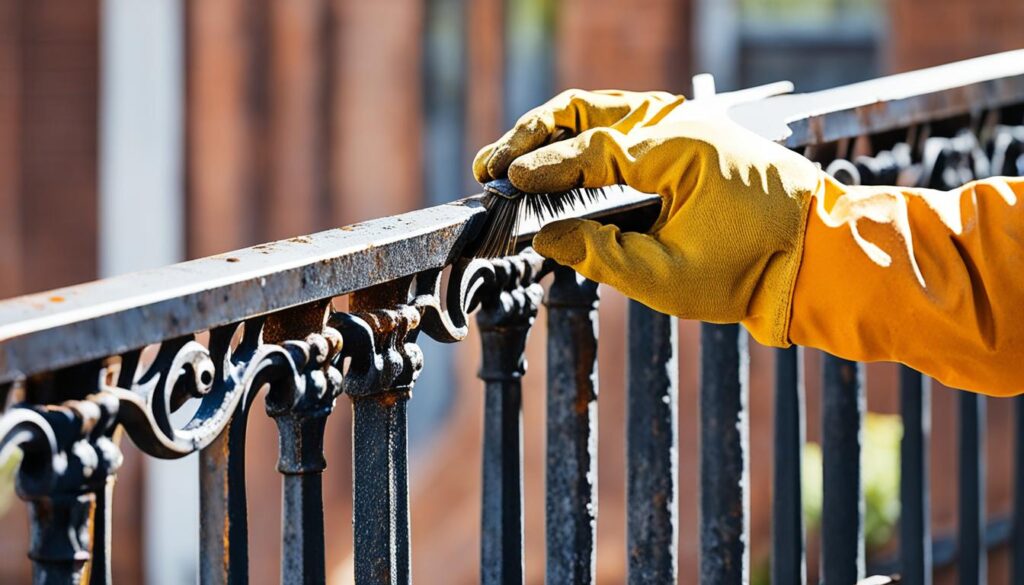
Maintaining wrought iron balusters is easy. Just clean them often. Indoor balusters need dusting now and then. Outdoor ones should be checked for rust. If you spot rust, gently sand and paint them with a rust-resistant paint19.
How often you clean them depends on where they are. Since wrought iron is very strong, it needs less care than wood would. Even though it might cost more at first, wrought iron lasts longer19.
Experts say to make installations stronger, drill deeper and use certain glues. Gel epoxy or silicone are good. But some like PL Premium glue because it’s easy to work with and aligns better. It’s also important to stop the balusters from spinning by making round ends square and using strong glues20.
Check your balusters often, especially in busy or outdoor areas. Follow the cleaning tips to keep them looking good. This makes them a smart choice for your home19.
Think about the environment, too. Wrought iron can be recycled and makes less waste than wood over time. But for those wanting to change designs easily, wood is lighter and simpler to adjust19.
- Periodic dusting for indoor installations and rust inspection for outdoor settings.
- Sanding and repainting when rust is detected to prevent further damage.
- Choosing strong adhesives such as PL Premium for a secure and lasting installation20.
- Maintenance requirements are minimal compared to wooden balusters19.
- Wrought iron’s recyclability offers a positive environmental impact19.
Regular care for your wrought iron balusters keeps them beautiful and strong. They will remain a key feature in your home for a long time.
Conclusion
Finishing up this full guide on wrought iron balusters shows they’re perfect for both saving money and taking control of your home’s look. By doing it yourself, you change your stairway into a strong, stylish focal point. It adds value to your house and makes it look better21.
Wrought iron balusters are known for being tough and lasting a long time, whether they’re solid or hollow22. The solid ones, crafted from strong but less expensive wrought iron, work indoors and out but are heavier and pricier22. Hollow balusters give you strength at a lower price. They’re good for inside work to avoid rust22.
Adding these balusters to your stairs not only makes them look better but could raise the value of your home21. There are many modern designs and finishes to pick from, such as matte black, antique bronze, and satin nickel. This makes it easy to find one that fits your style21. Once they’re in, they don’t need much upkeep in the future21.
You now know everything to make your stair reno a hit. Pick from fancy scrolls or simple matte black for an amazing change. Get ready to make your house more elegant and strong with these great iron balusters.
FAQ
How do I remove old wooden balusters for replacement with wrought iron?
What materials and tools are essential for wrought iron baluster installation?
How do I design a custom layout for my new wrought iron balusters?
What benefits do wrought iron balusters offer compared to wooden ones?
How should I prepare my workspace before installing wrought iron balusters?
Can I use hot glue instead of epoxy for securing my balusters?
Where can I purchase quality wrought iron balusters and accessories?
How do I troubleshoot common installation issues such as uneven cuts or adhesive problems?
What maintenance is required for wrought iron balusters?
How do I cut wrought iron balusters to the appropriate length?
Source Links
- https://www.viewalongtheway.com/2013/08/how-to-install-iron-balusters/ – How to install iron balusters – * View Along the Way *
- https://woodweb.com/knowledge_base/Working_with_Iron_Balusters.html – Working with Iron Balusters
- https://arironllc.com/blog/benefits-of-opting-for-wrought-iron-balustrades-and-railings-for-your-home-or-yard/ – Benefits of Wrought Iron Balustrades & Railings for Your Home/Yard
- https://blog.stairsupplies.com/choosing-wood-or-wrought-iron-balusters-for-your-home – Choosing Wood or Wrought Iron Balusters for Your Home
- https://www.bayerbuilt.com/Resources/Installation/Stair Parts/Wrought_Iron_Balustrade_Installation.pdf – PDF
- https://hammersmith.com.au/blogs/news/how-to-install-iron-balusters – How To Install Iron Balusters
- https://eclectictwist.com/diy-iron-baluster-railing-installation/ – How to Install a DIY Iron Baluster Railing | Eclectic Twist
- https://www.blesserhouse.com/how-to-replace-stair-spindles-diy-stair-makeover/ – How to Replace Stair Spindles – DIY Stair Makeover
- https://blog.stairsupplies.com/what-is-the-proper-spacing-for-balusters – How To Space Your Balusters
- https://www.fourgenerationsoneroof.com/how-to-make-iron-balusters-look-expensive-for-under-2/ – DIY Balusters On An Angles | Four Generations One Roof
- https://www.ljsmith.com/frequently-asked-questions/balusters – Balusters — L.J. Smith Stair Systems
- https://blog.stairsupplies.com/6-ways-to-plan-for-iron-balusters – Purchasing New Iron Balusters: 6 Essential Steps
- https://cheapstairparts.com/wrought-iron-balusters-for-stairs/ – Wrought Iron Balusters for Stairs
- https://www.stepupstair.com/pages/replacing-wood-with-wrought-iron-balusters – How to Remove Wood Balusters and Install Wrought Iron Metal Balusters
- https://www.stairwarehouse.com/how-to-install-metal-balusters/ – How to Install Metal Balusters
- https://designertrapped.com/how-to-update-your-stair-railing/ – How to Replace Balusters to Update Your Stair Railing
- https://www.doityourself.com/forum/forum/showthread.php?t=528703 – Fixing improperly installed Iron Balusters
- https://fortressbp.com/blog/185/easy-iron-baluster-installation-how-to-attach-balusters-using-hidden-connectors – Easy Iron Baluster Installation | Fortress
- https://muzatarailing.com/blogs/knowledge/wrought-iron-vs-wood-balusters – Wrought Iron vs. Wooden Balusters: An In-Depth Comparison for Homeowne
- https://forums.jlconline.com/forums/forum/jlc-online-expert-forums/finish-carpentry/56316-keeping-iron-balusters-from-spinning – keeping iron balusters from spinning?
- https://www.amadorironworks.com/post/upgrading-houston-staircases-with-wrought-iron-balusters – Amador Iron Works NEW v2
- https://www.woodstairs.com/about-iron_balusters/ – Hollow or Solid Iron Balusters – Compare Metal Spindles






Im not convinced that wrought iron balusters are worth the effort. Sure, they look nice, but are they really worth all the prep work and tools needed for installation? Seems like a hassle to me.
I personally think that the benefits of wrought iron balusters outweigh the extra effort needed for installation. Plus, they add a touch of elegance to any staircase. Whos with me on this? 🤔🏡 #HomeImprovement #DIYsquad
I never realized how much work goes into installing wrought iron balusters! Do you think its worth the effort for the benefits they provide, or would you rather stick with a simpler railing option?
Wrought iron balusters add elegance and durability. Worth the effort for long-term beauty and value.
While I appreciate the guide, I cant help but wonder if were promoting a dangerous DIY culture. Shouldnt some tasks be left to the professionals? What about safety concerns, folks?
I get the benefits of wrought iron balusters, but isnt the installation process a bit too complicated for an average Joe? Plus, the cost of materials and tools isnt a joke either.
While this guide does a fine job detailing the installation process, I wonder if the benefits of wrought iron balusters truly outweigh the effort and cost. Are they worth the fuss? Thoughts, anyone?
Absolutely worth it! The elegance and durability wrought iron offers is unmatched. You get what you pay for!
Does anyone know if wrought iron balusters can be installed on both wooden and concrete stairs? Just curious.
Interesting guide, but shouldnt safety precautions during the installation process be included? Lets not overlook that aspect.
Do we really need special tools for installing wrought iron balusters? Cant we improvise with common tools?
Hey, any thoughts on the lifespan of wrought iron balusters compared to wooden ones?
Interesting read, but is there any special maintenance needed for these wrought iron balusters?
Great guide, but did anyone else find the work area prep section a bit vague? Could use more specific steps.